
WebAssembly (WASM) is a new technology that is getting a lot of attention. On the browser, JavaScript was the only programming language supported until the WASM standard came along. WASM was never created as a replacement for JavaScript, but because it is so low-level, it is a great complement where performance and/or memory intensive computational tasks may be required, such as video editing, CAD, gaming, etc. On the other hand, because WASM is not built directly, but is the result of compilation from high-level languages such as C, C++, Rust, or Go, it can be stored in a compact binary file and executed in a secure, isolated sandbox. To communicate with the DOM, it must use a bridge to JavaScript. Some WASM success stories are Figma, Autocad or Microsoft Blazor. OutSystems as the most powerful low-code platform works by using the browser to communicate with the platform servers. OutSystems is designed to be a high performance platform. We can give the end user a WASM application when the performance requirements might need more than the natural performance that Javascript provides.
How to use WASM with OutSystems?
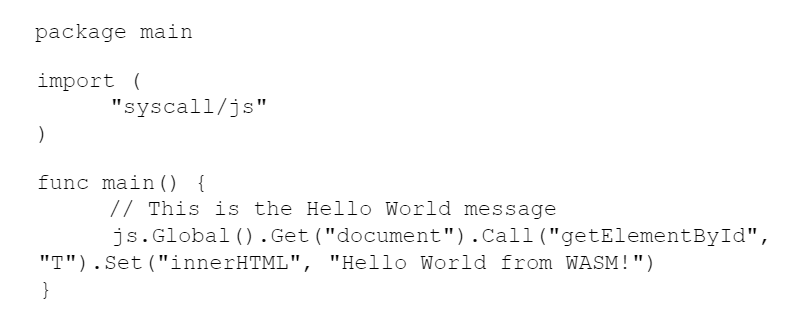
Our first program will print the classic hello world on an OutSystems Reactive Application and we will use a go program to generate the expected WASM binary. In the following code we call the bridge using js.Global() and from the document representation of the DOM (Document Object Model) we call the JavaScript function getElementById to get the DOM element with the ID "T". Then we set the innerHTML attribute of this DOM element to "Hello World from WASM!
After saving the hello-world.go file we compile it by running the following command:
$ GOARCH=wasm GOOS=js go build -o app.bin hello-world.go
GOARCH sets the architecture to WASM, GOOS sets the operating system to JS (JavaScript) and the -o flag sets the output to app.bin. We will use this output because we may not have control over the mime type of the OutSystems platform web server, and as a binary type it will always be sent through the web server (IIS). If we have control we can use the normal output as an app.wasm.
Now in the OutSystems Service Studio we are going to create a new application from scratch by selecting the New Application icon and choosing the From Scratch option.
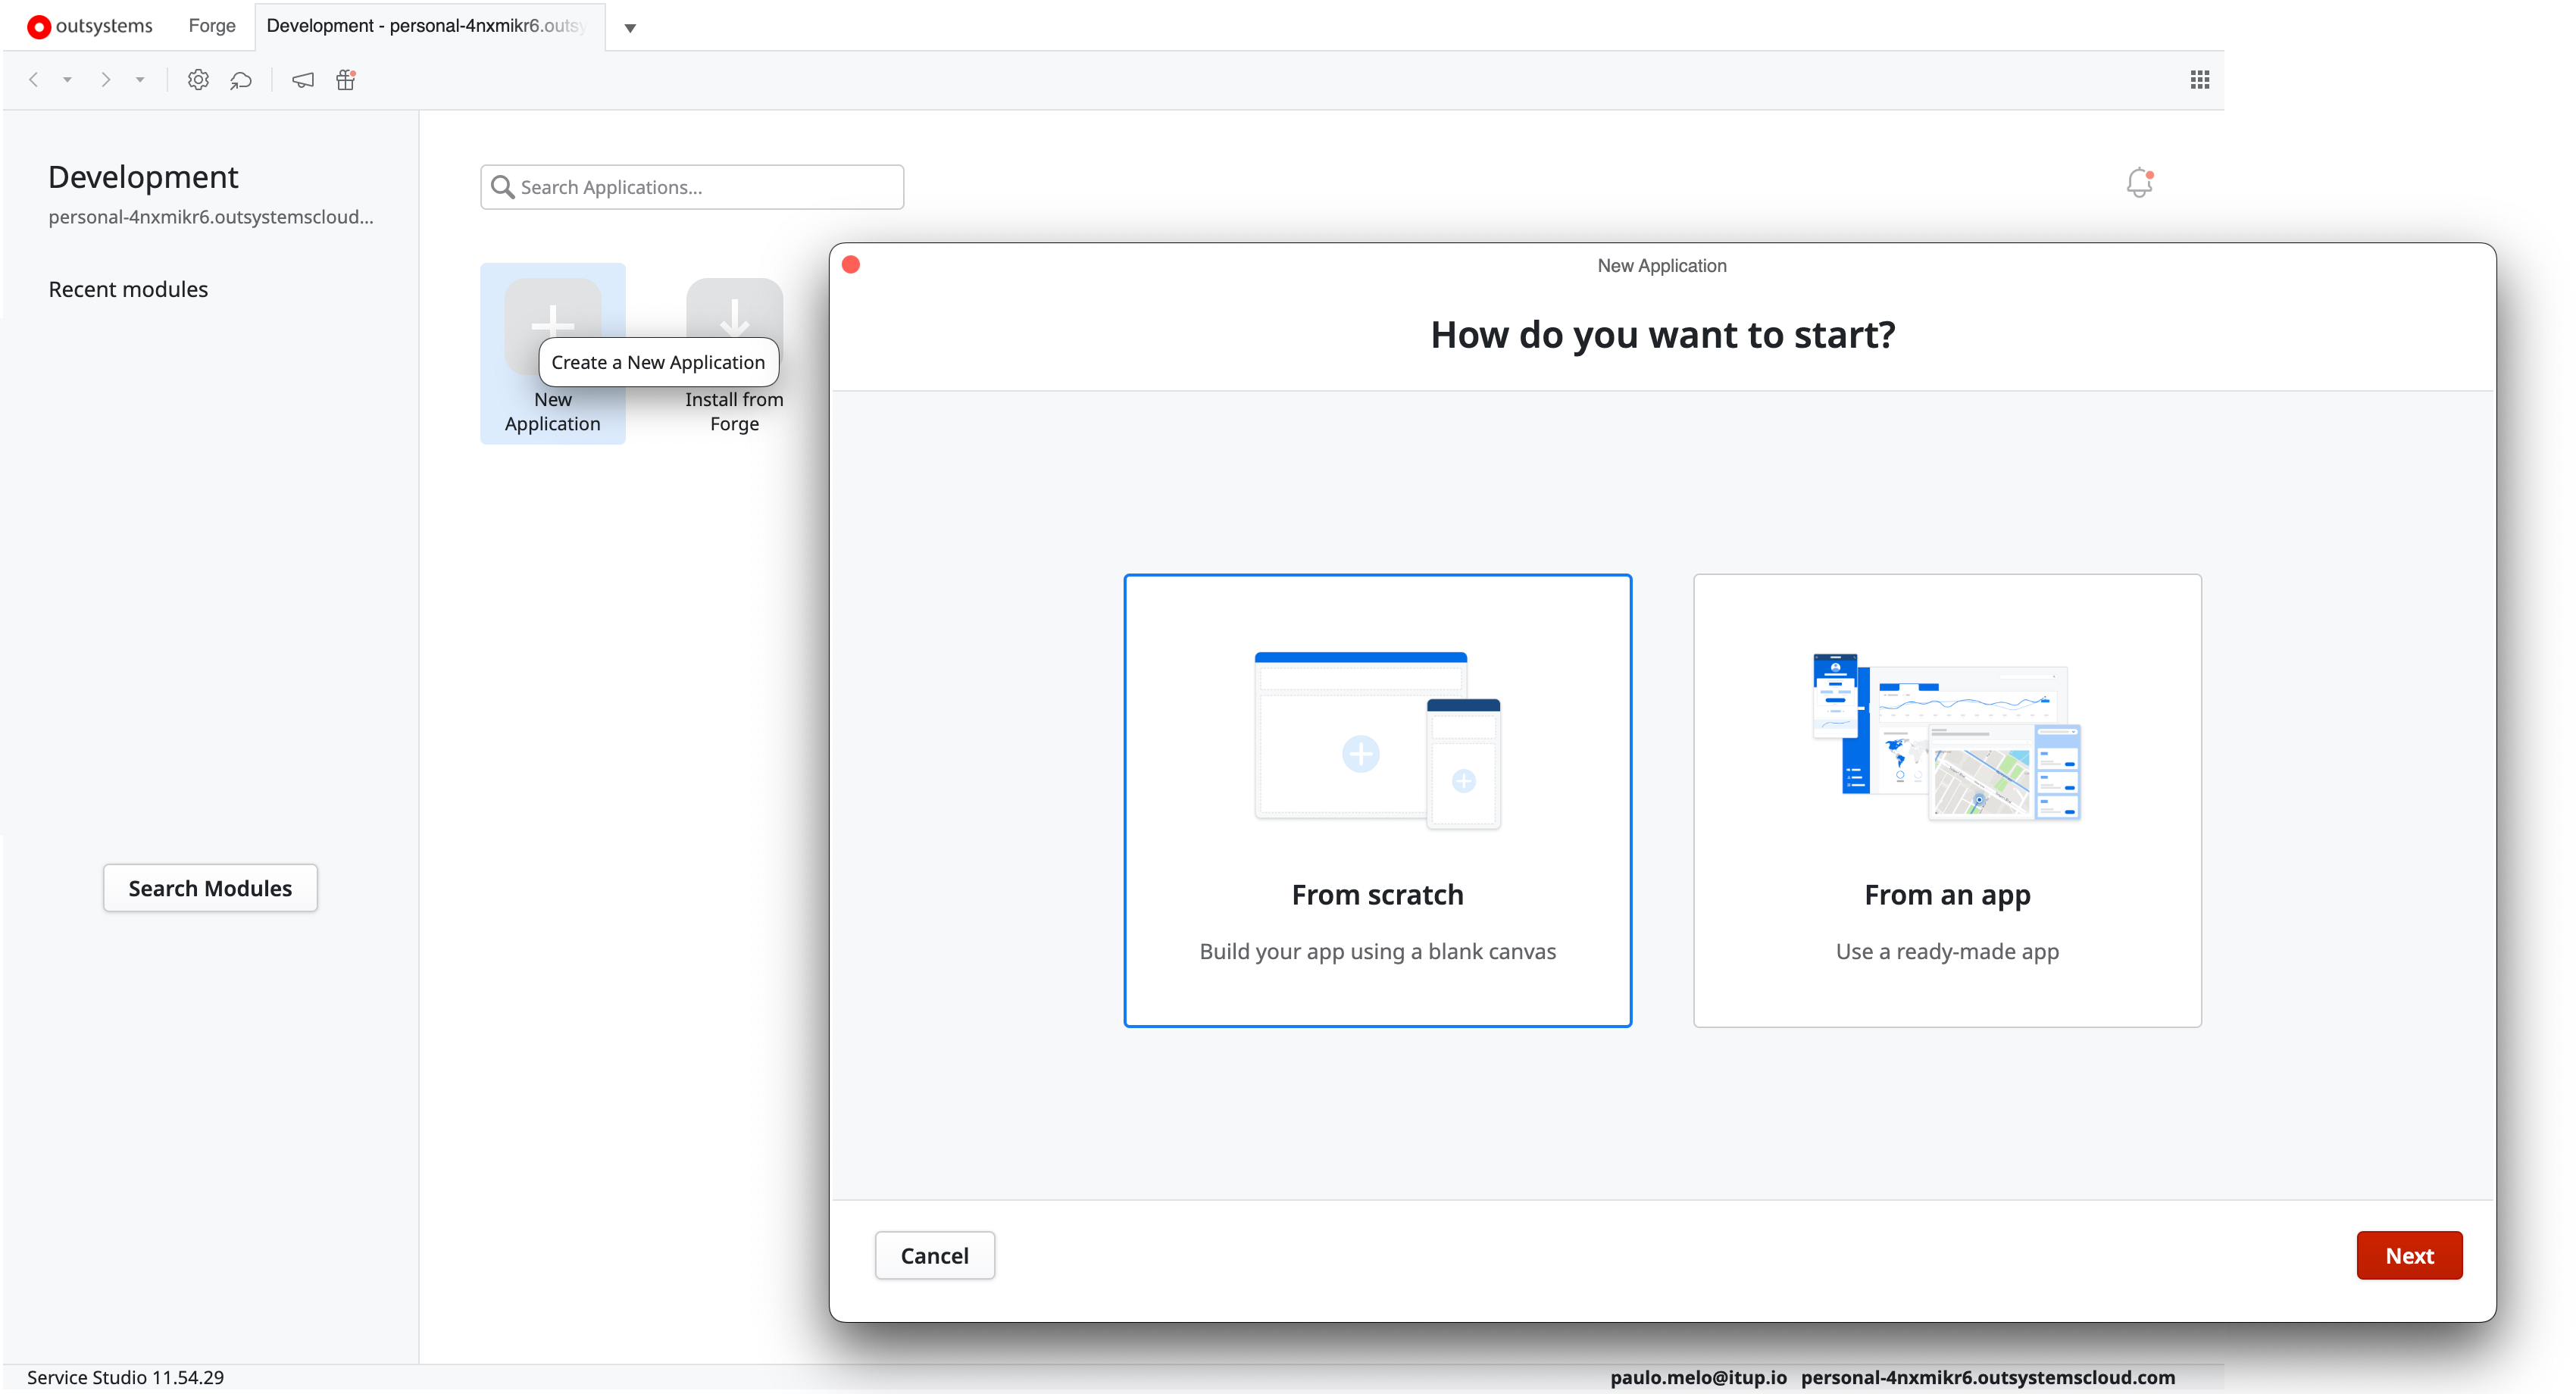
For this example, we will create a reactive web app - that is, an app with a responsive interface that runs in the browser and adapts to all kinds of devices and screen sizes.

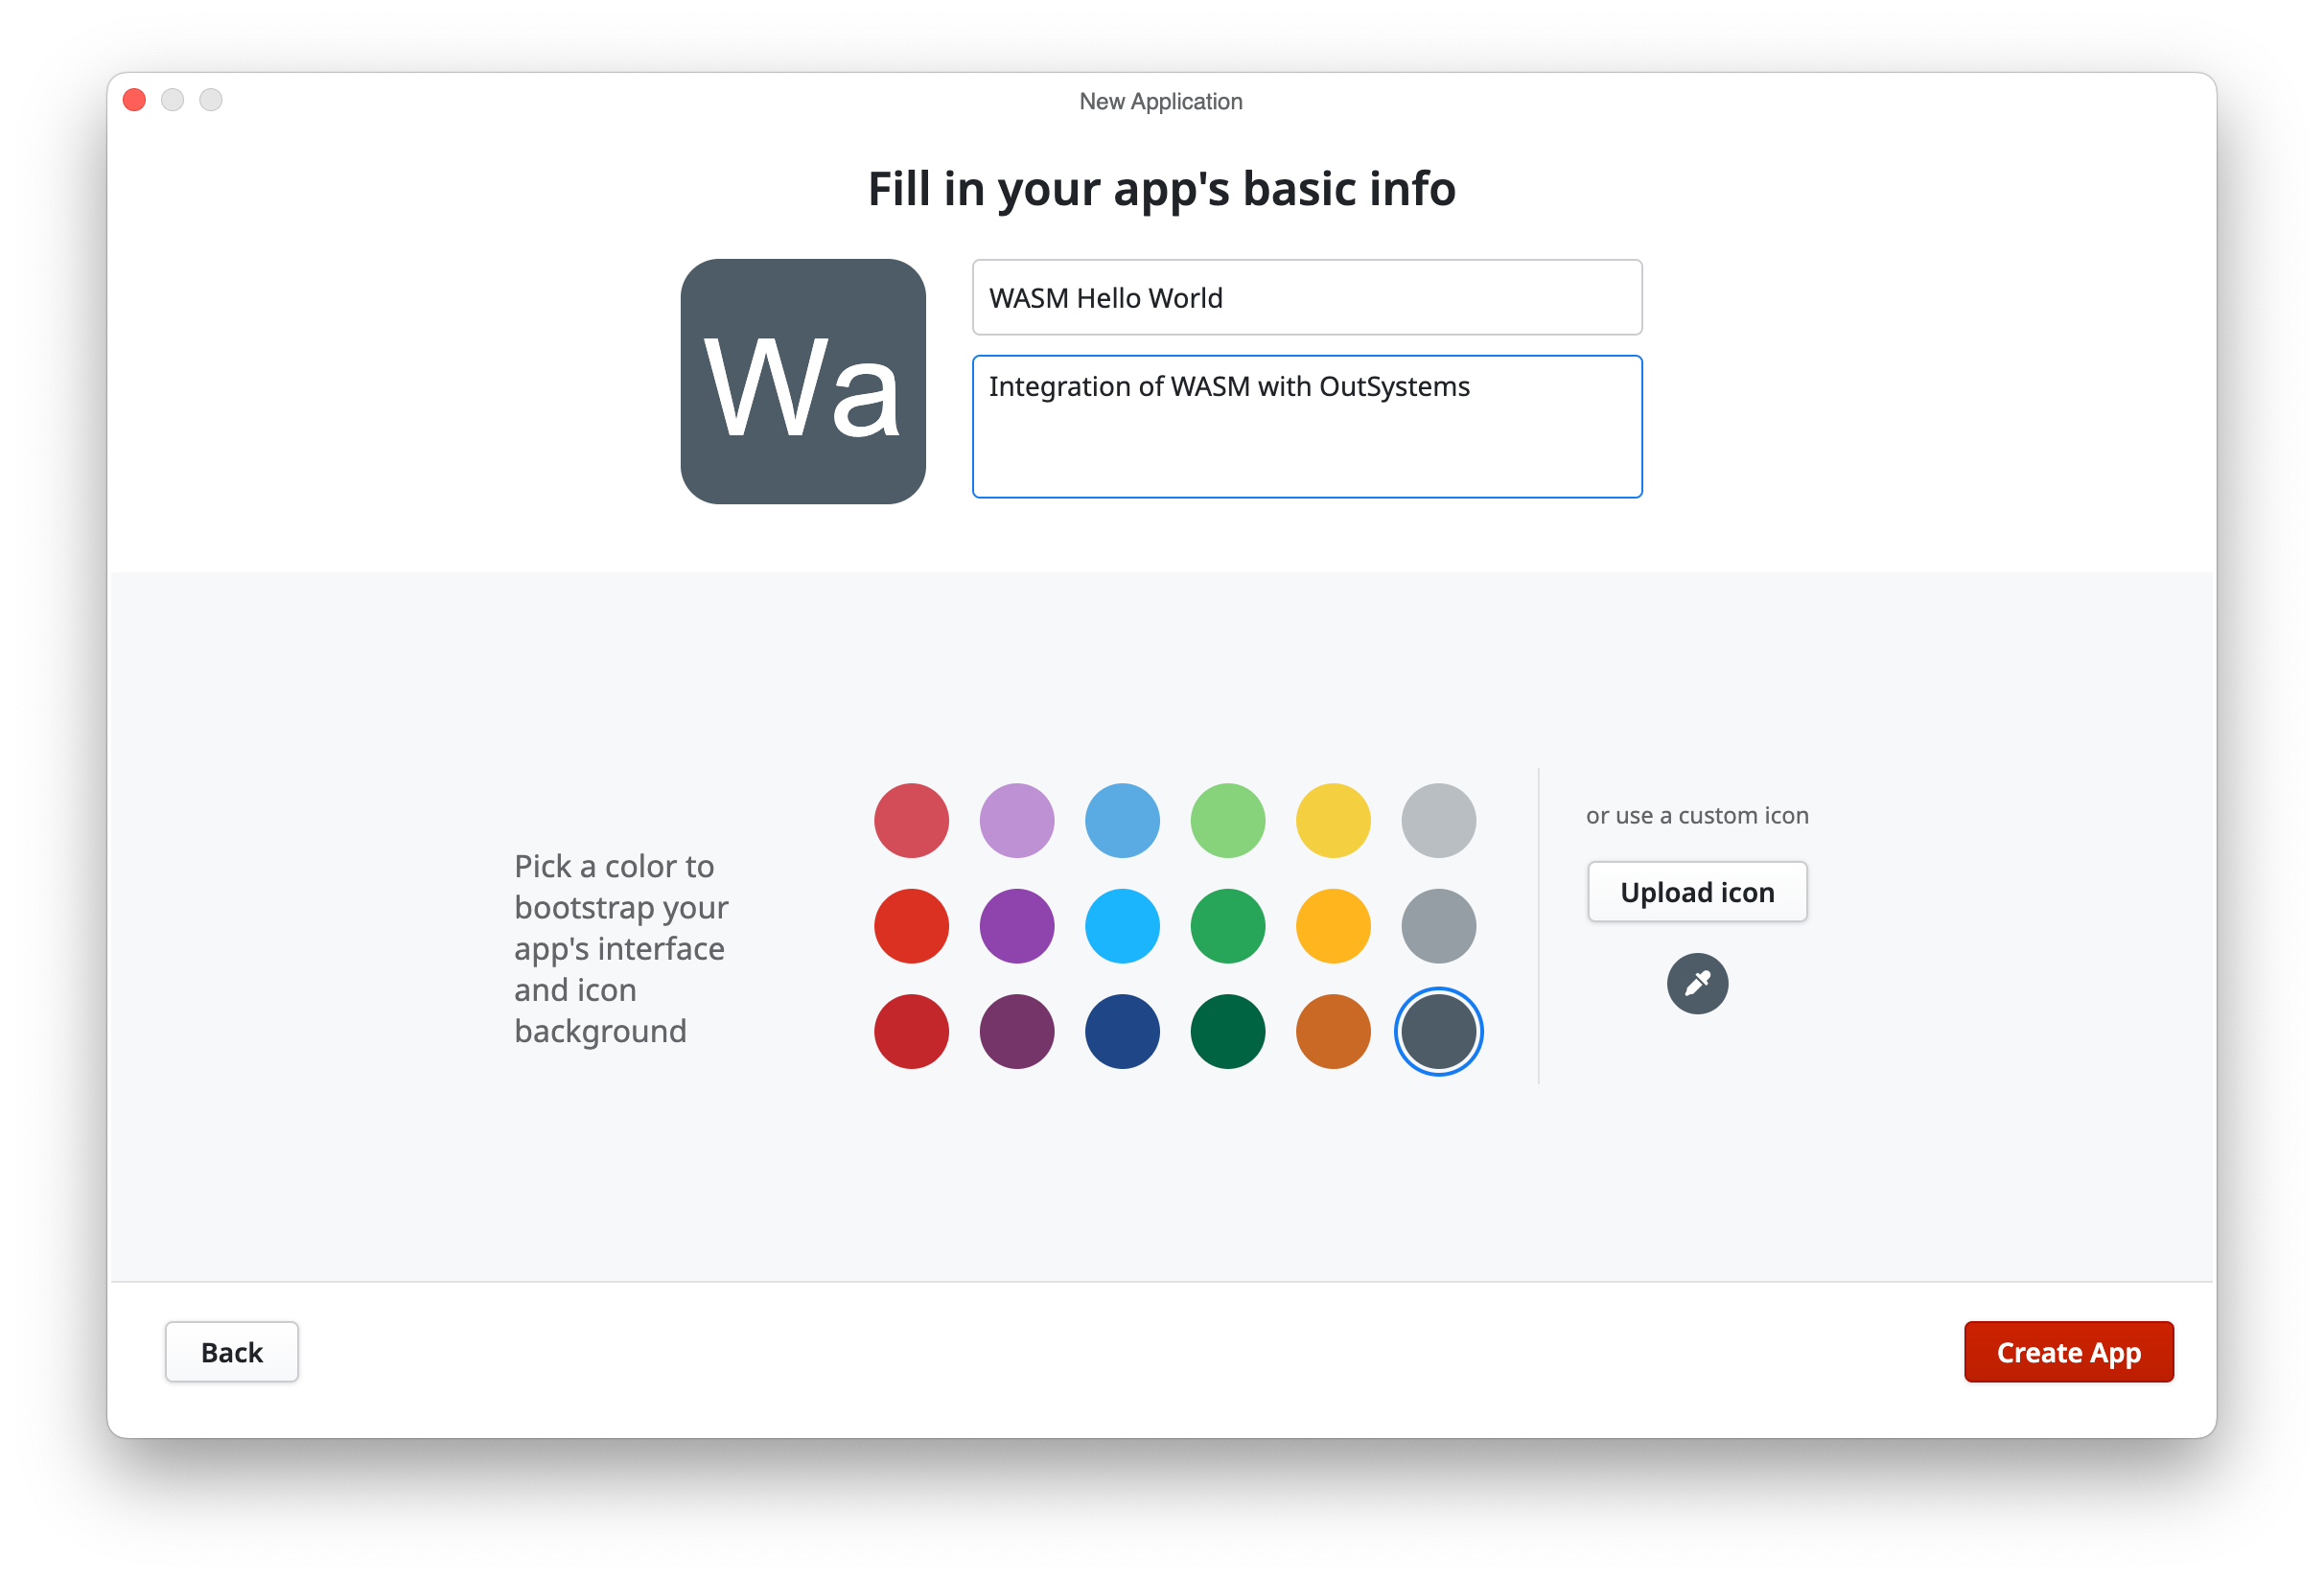
The final step is to enter a name and description, choose a color scheme, and create the app.
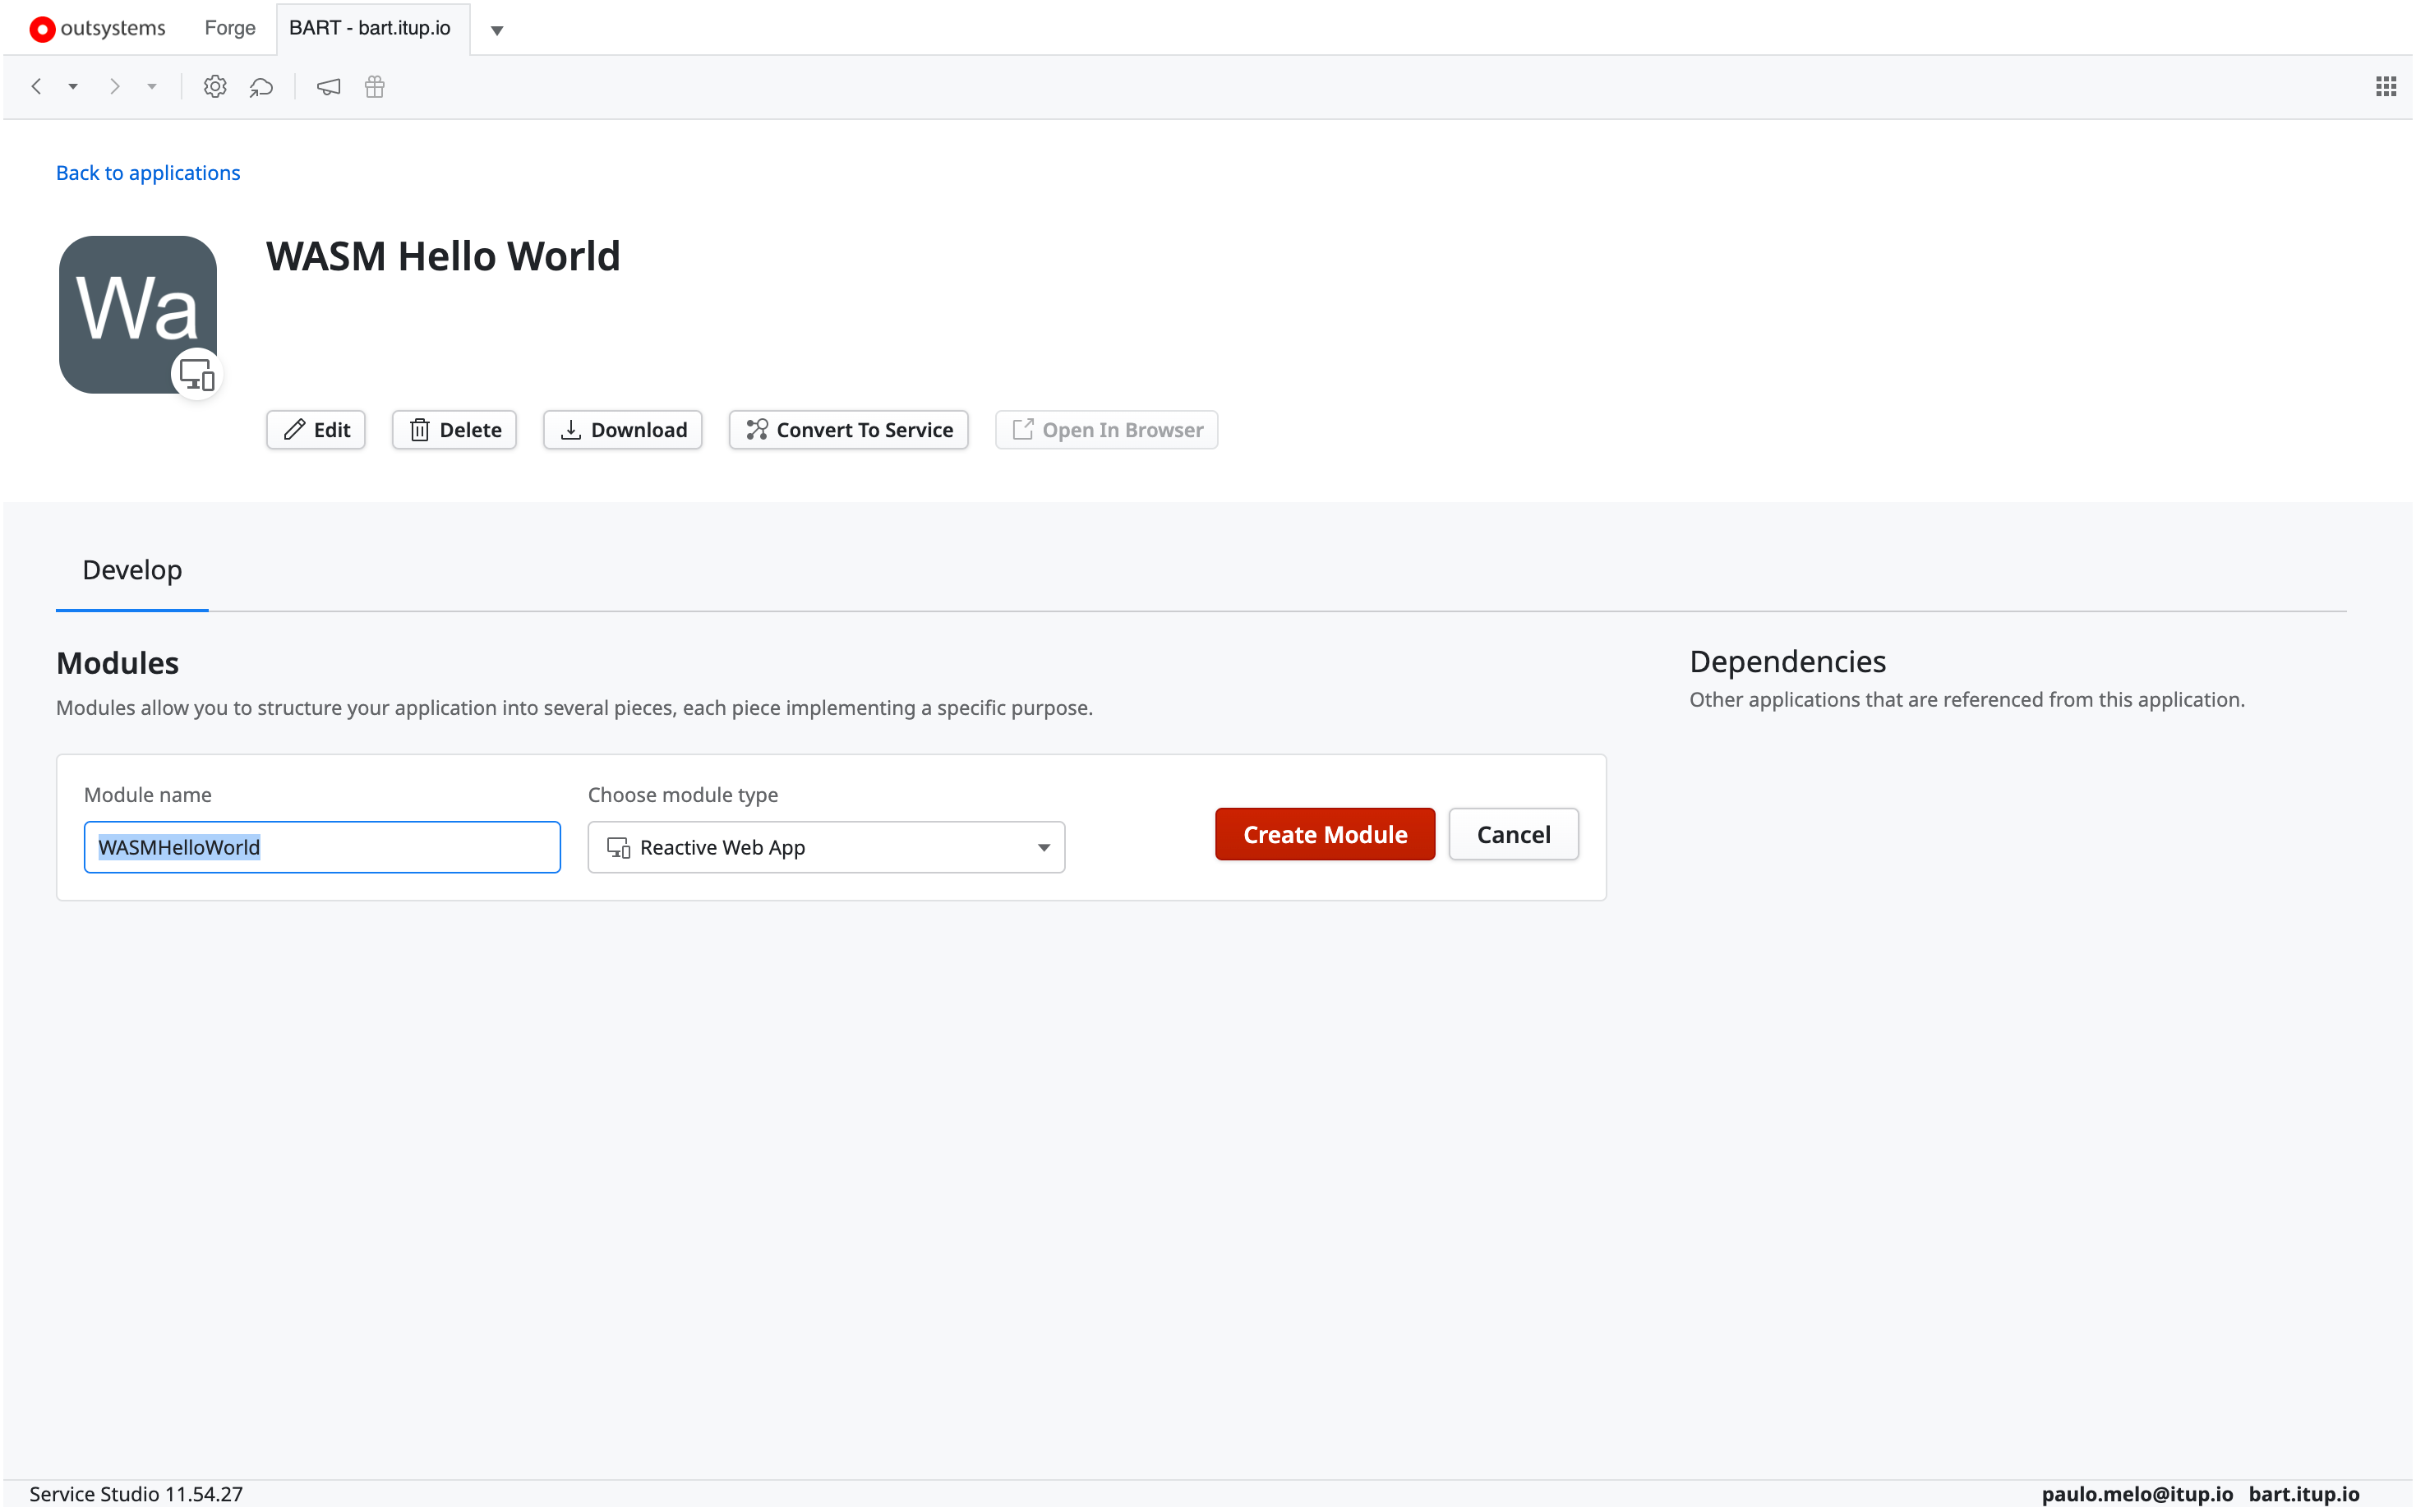
Now we create the application module by selecting the Create Module button.
Once the module is created, it is time to upload the WASM javascript bridge so that WASM can communicate with the DOM. The file can be found here, and we will use the Import Script feature located in the Interface Navigation pane.
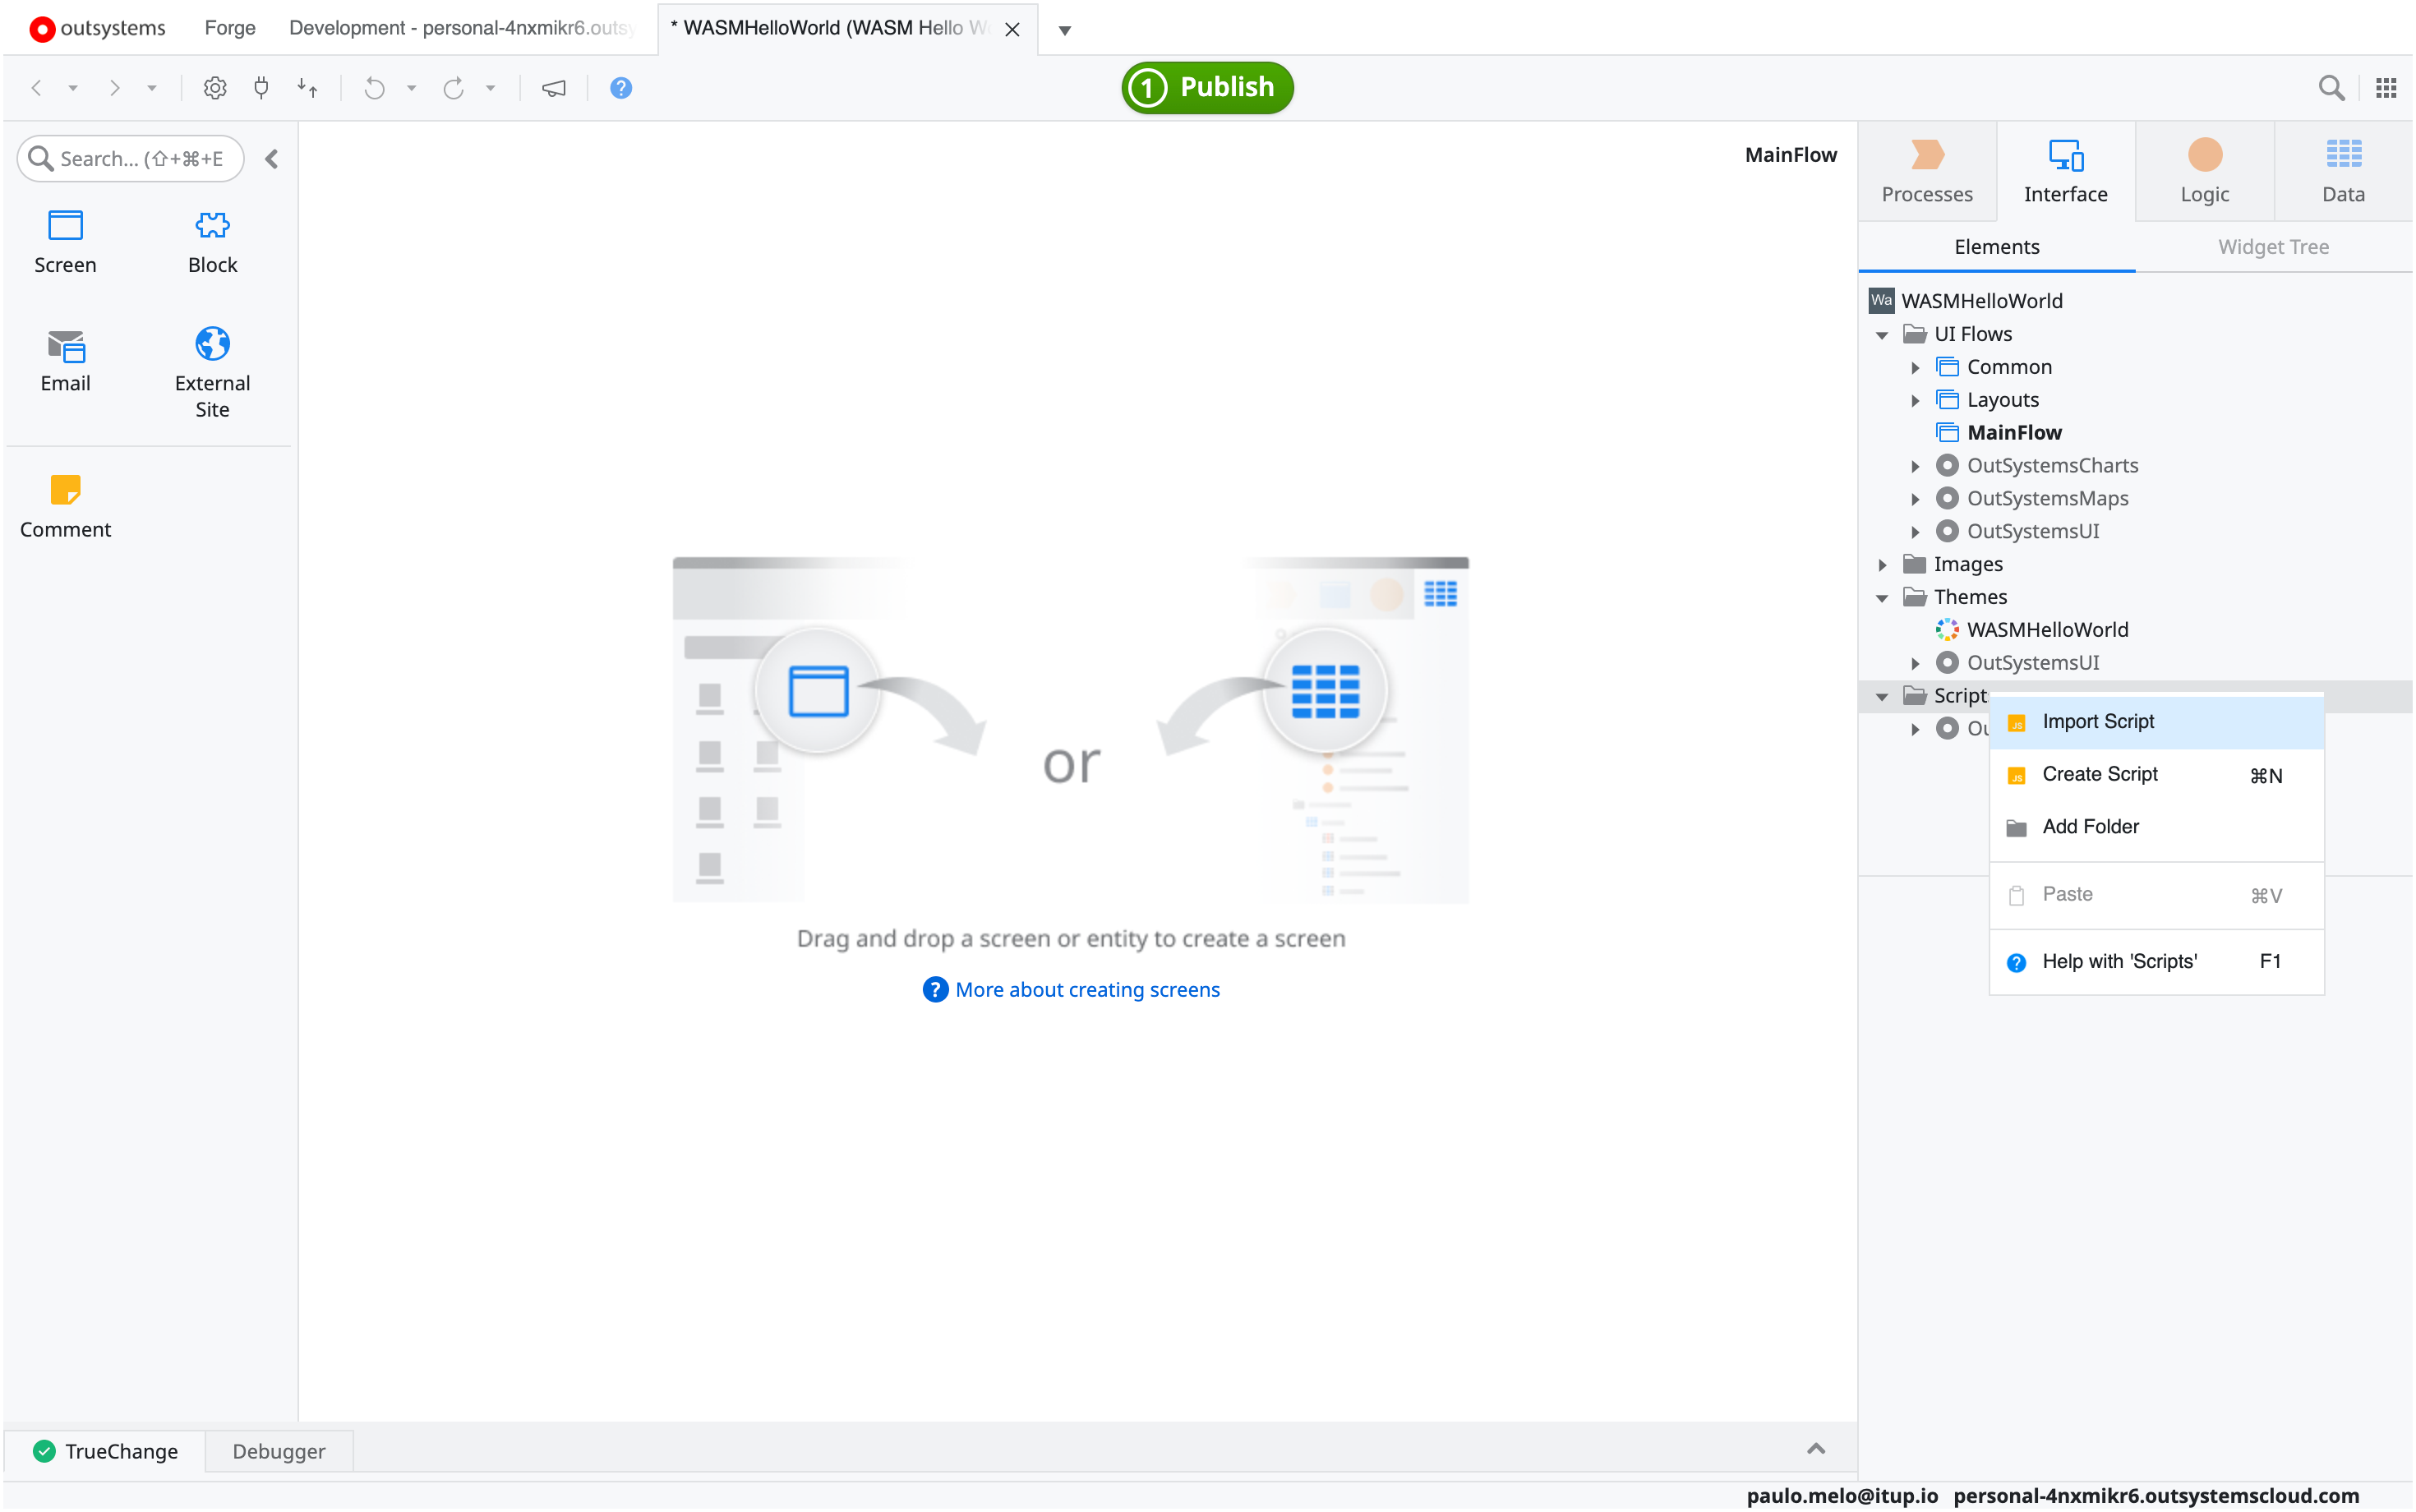
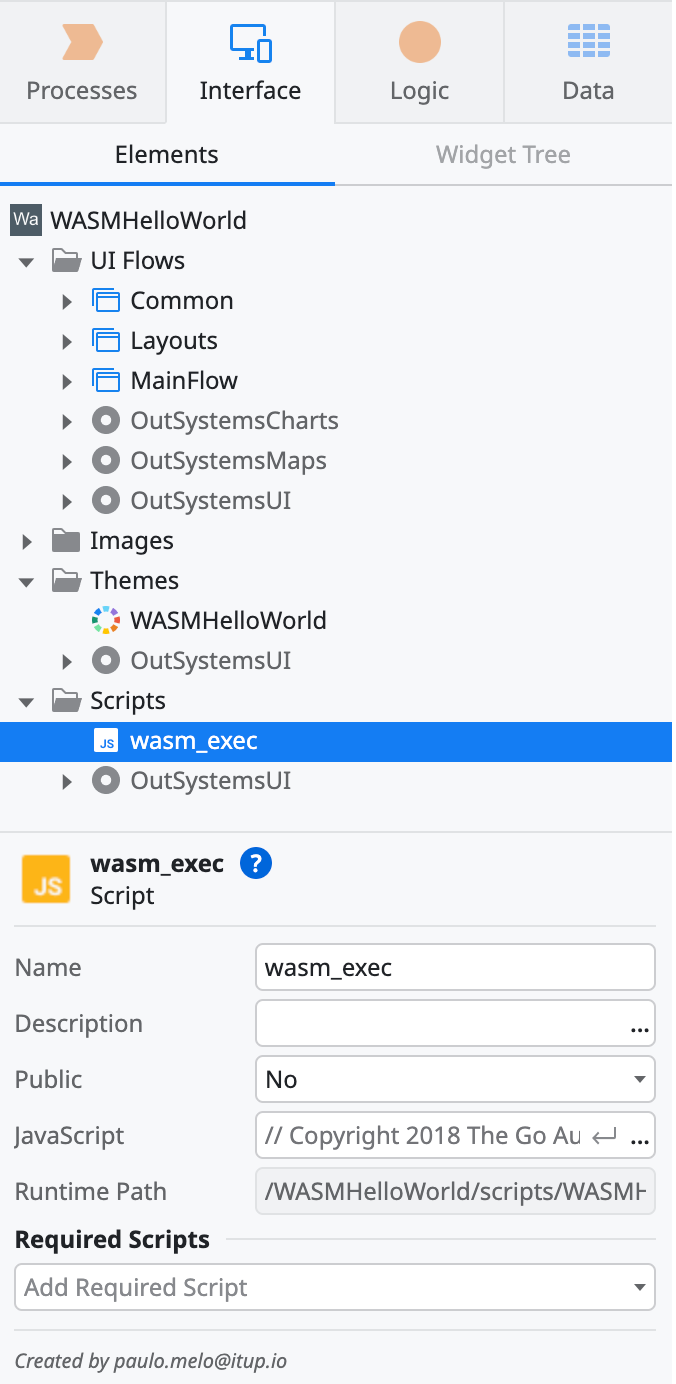
This is the result - the file is under Scripts as wasm_exec.
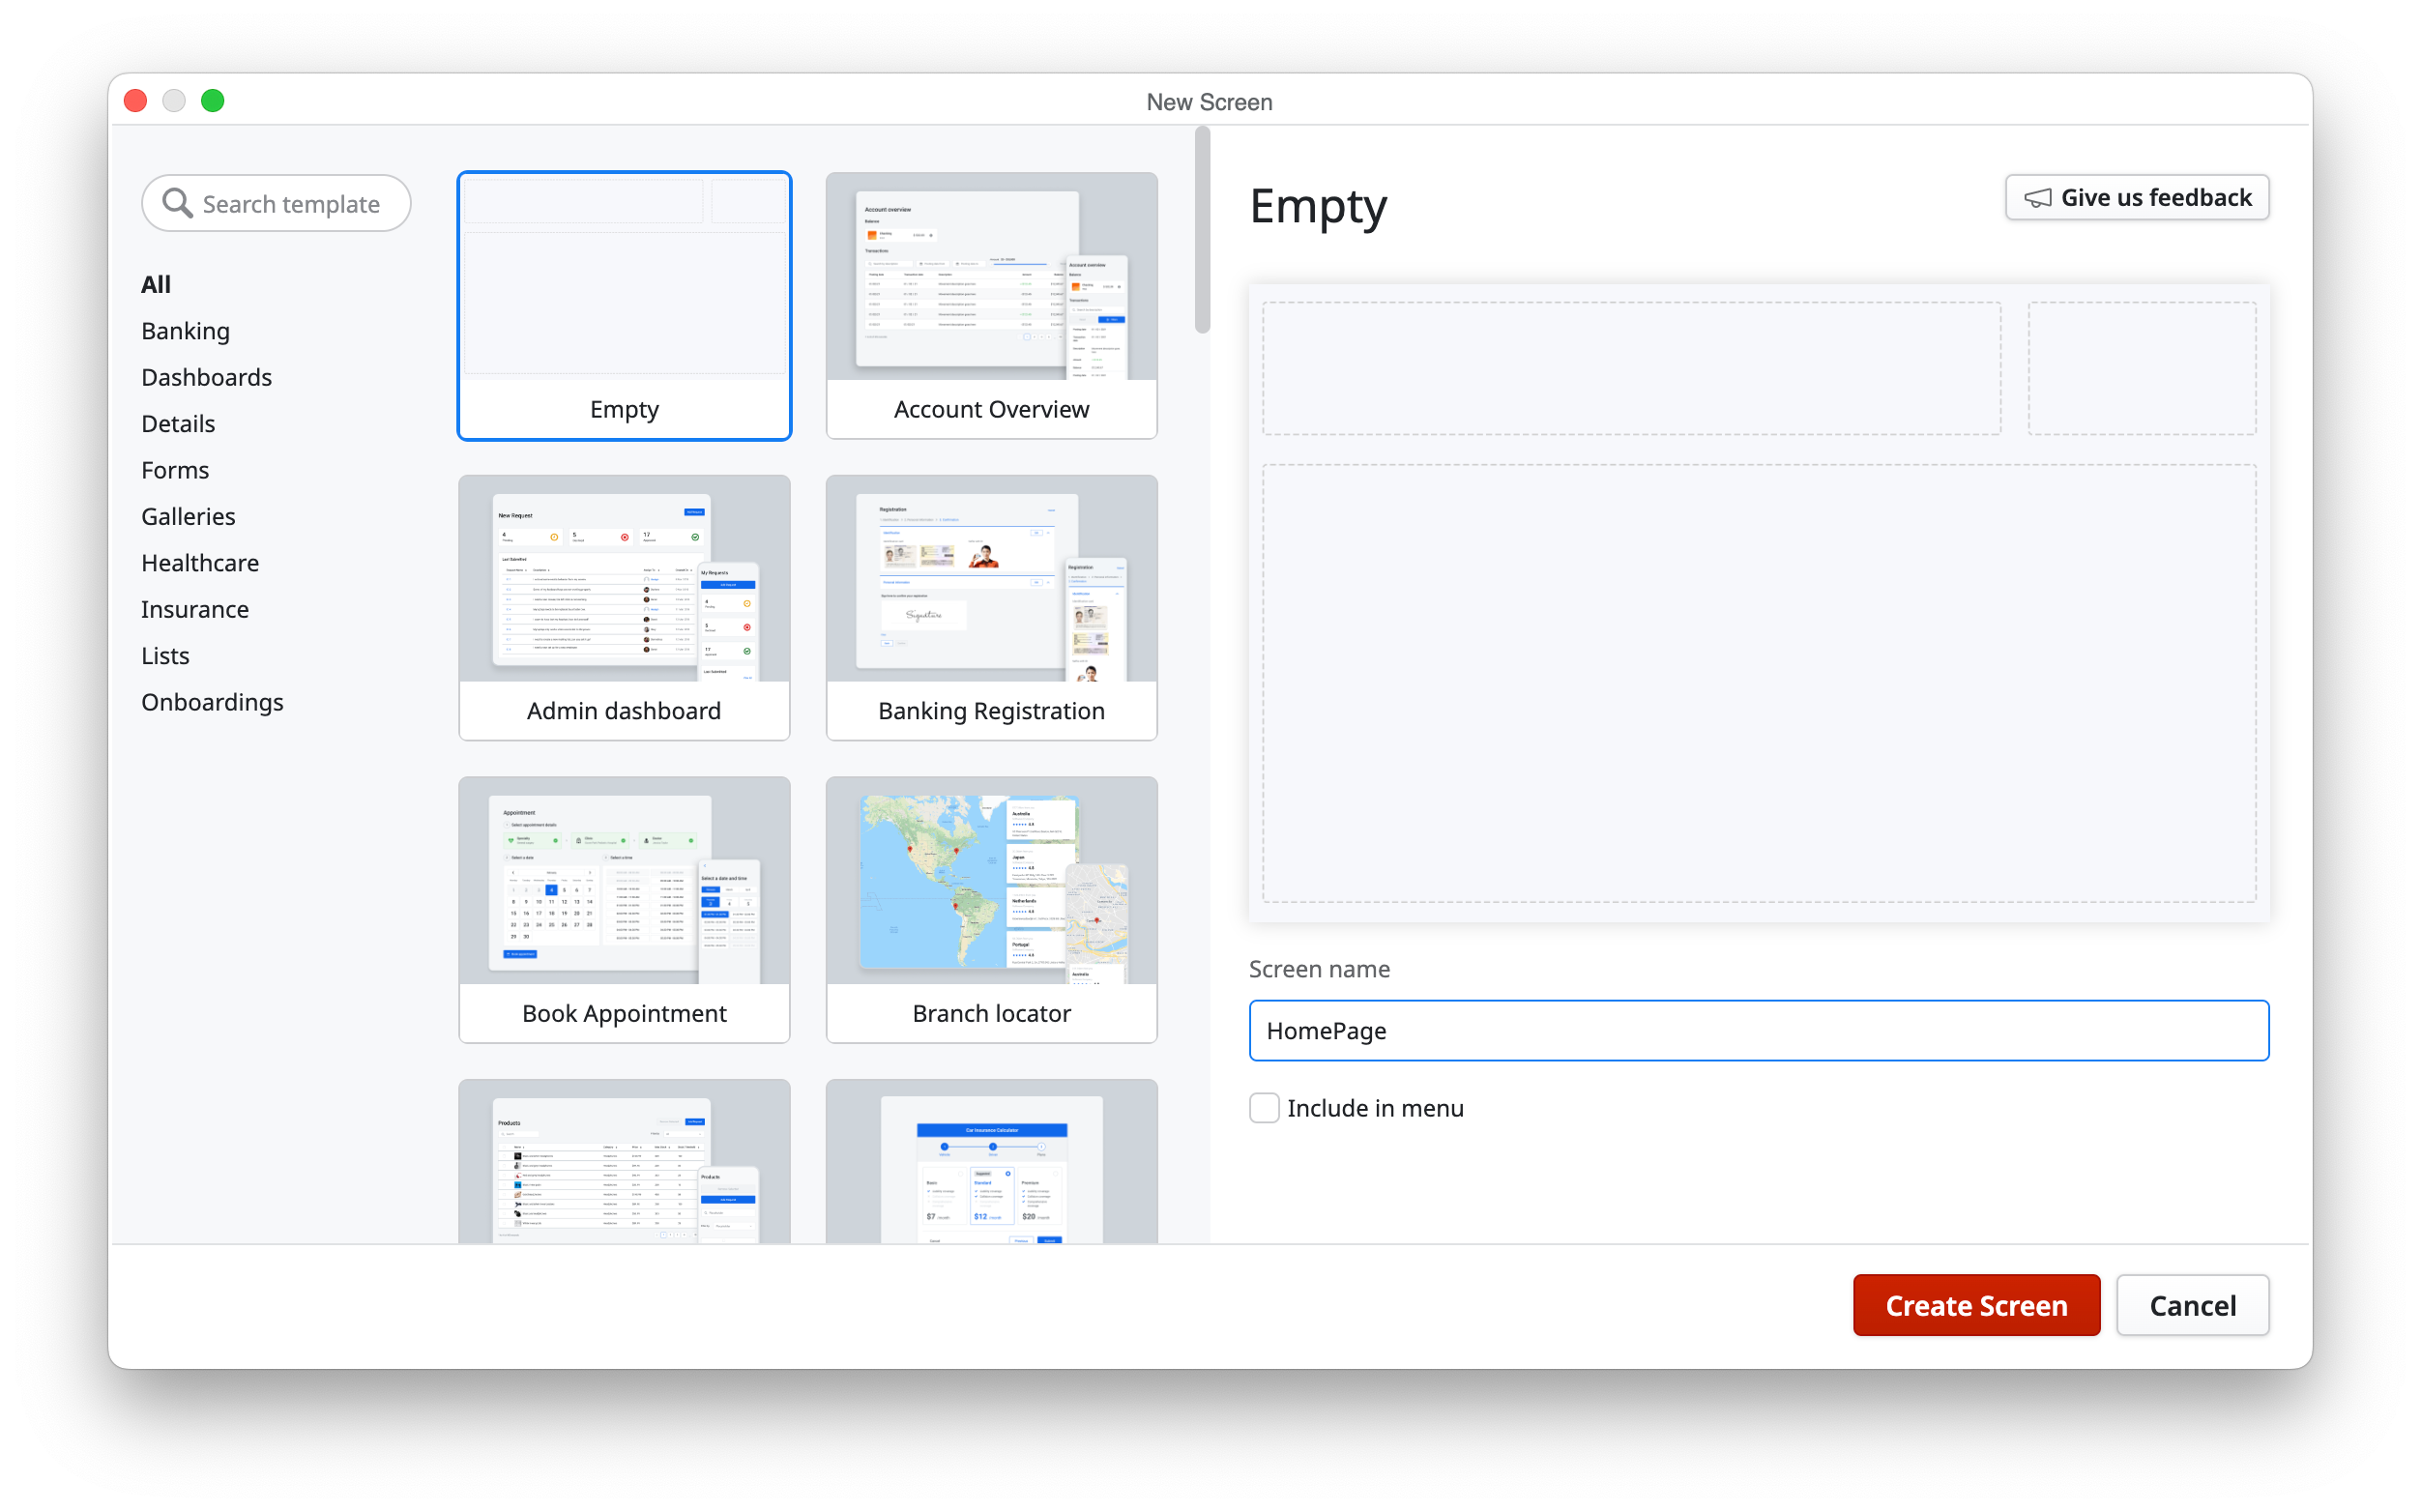
Then we will create a Screen and call it HomePage.
At the HomePage screen that we have just created, we need to add the wasm_exec script as a Required Scripts.
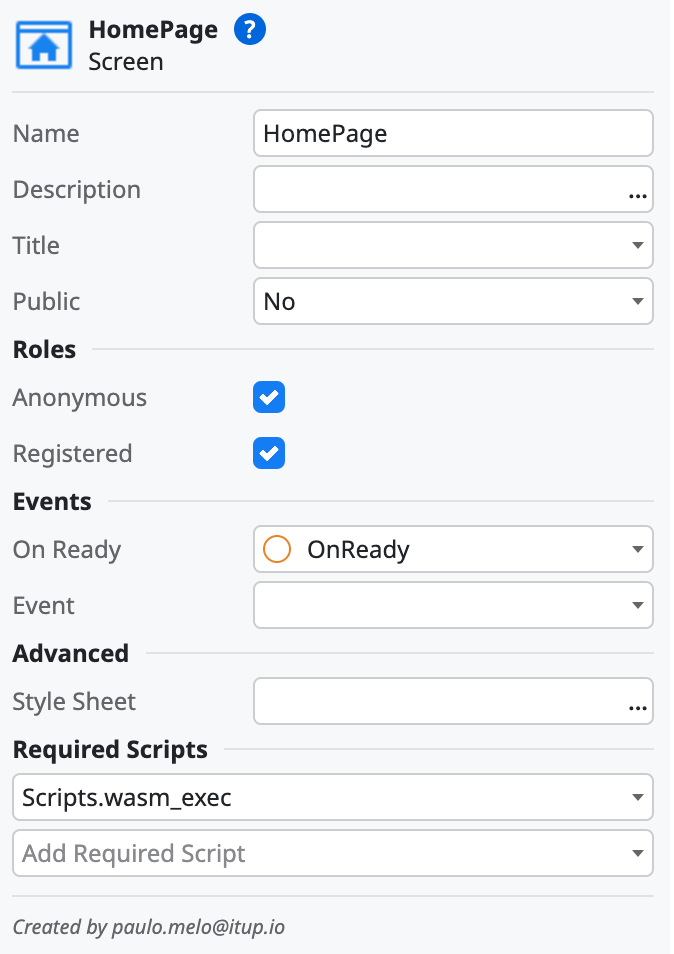
This will force the script to load when we open this page. We set the role to Anonymous so that the whole world can see this page and add an OnReady event action.
Inside the OnReady action, we add a JS node to the flow, name it InitWASM, and add the following code inside the node:
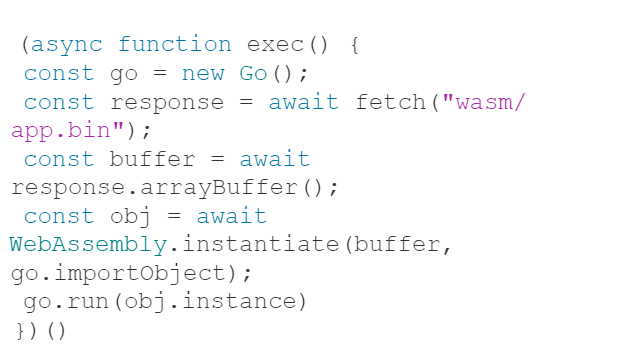
This is the OnReady Action:
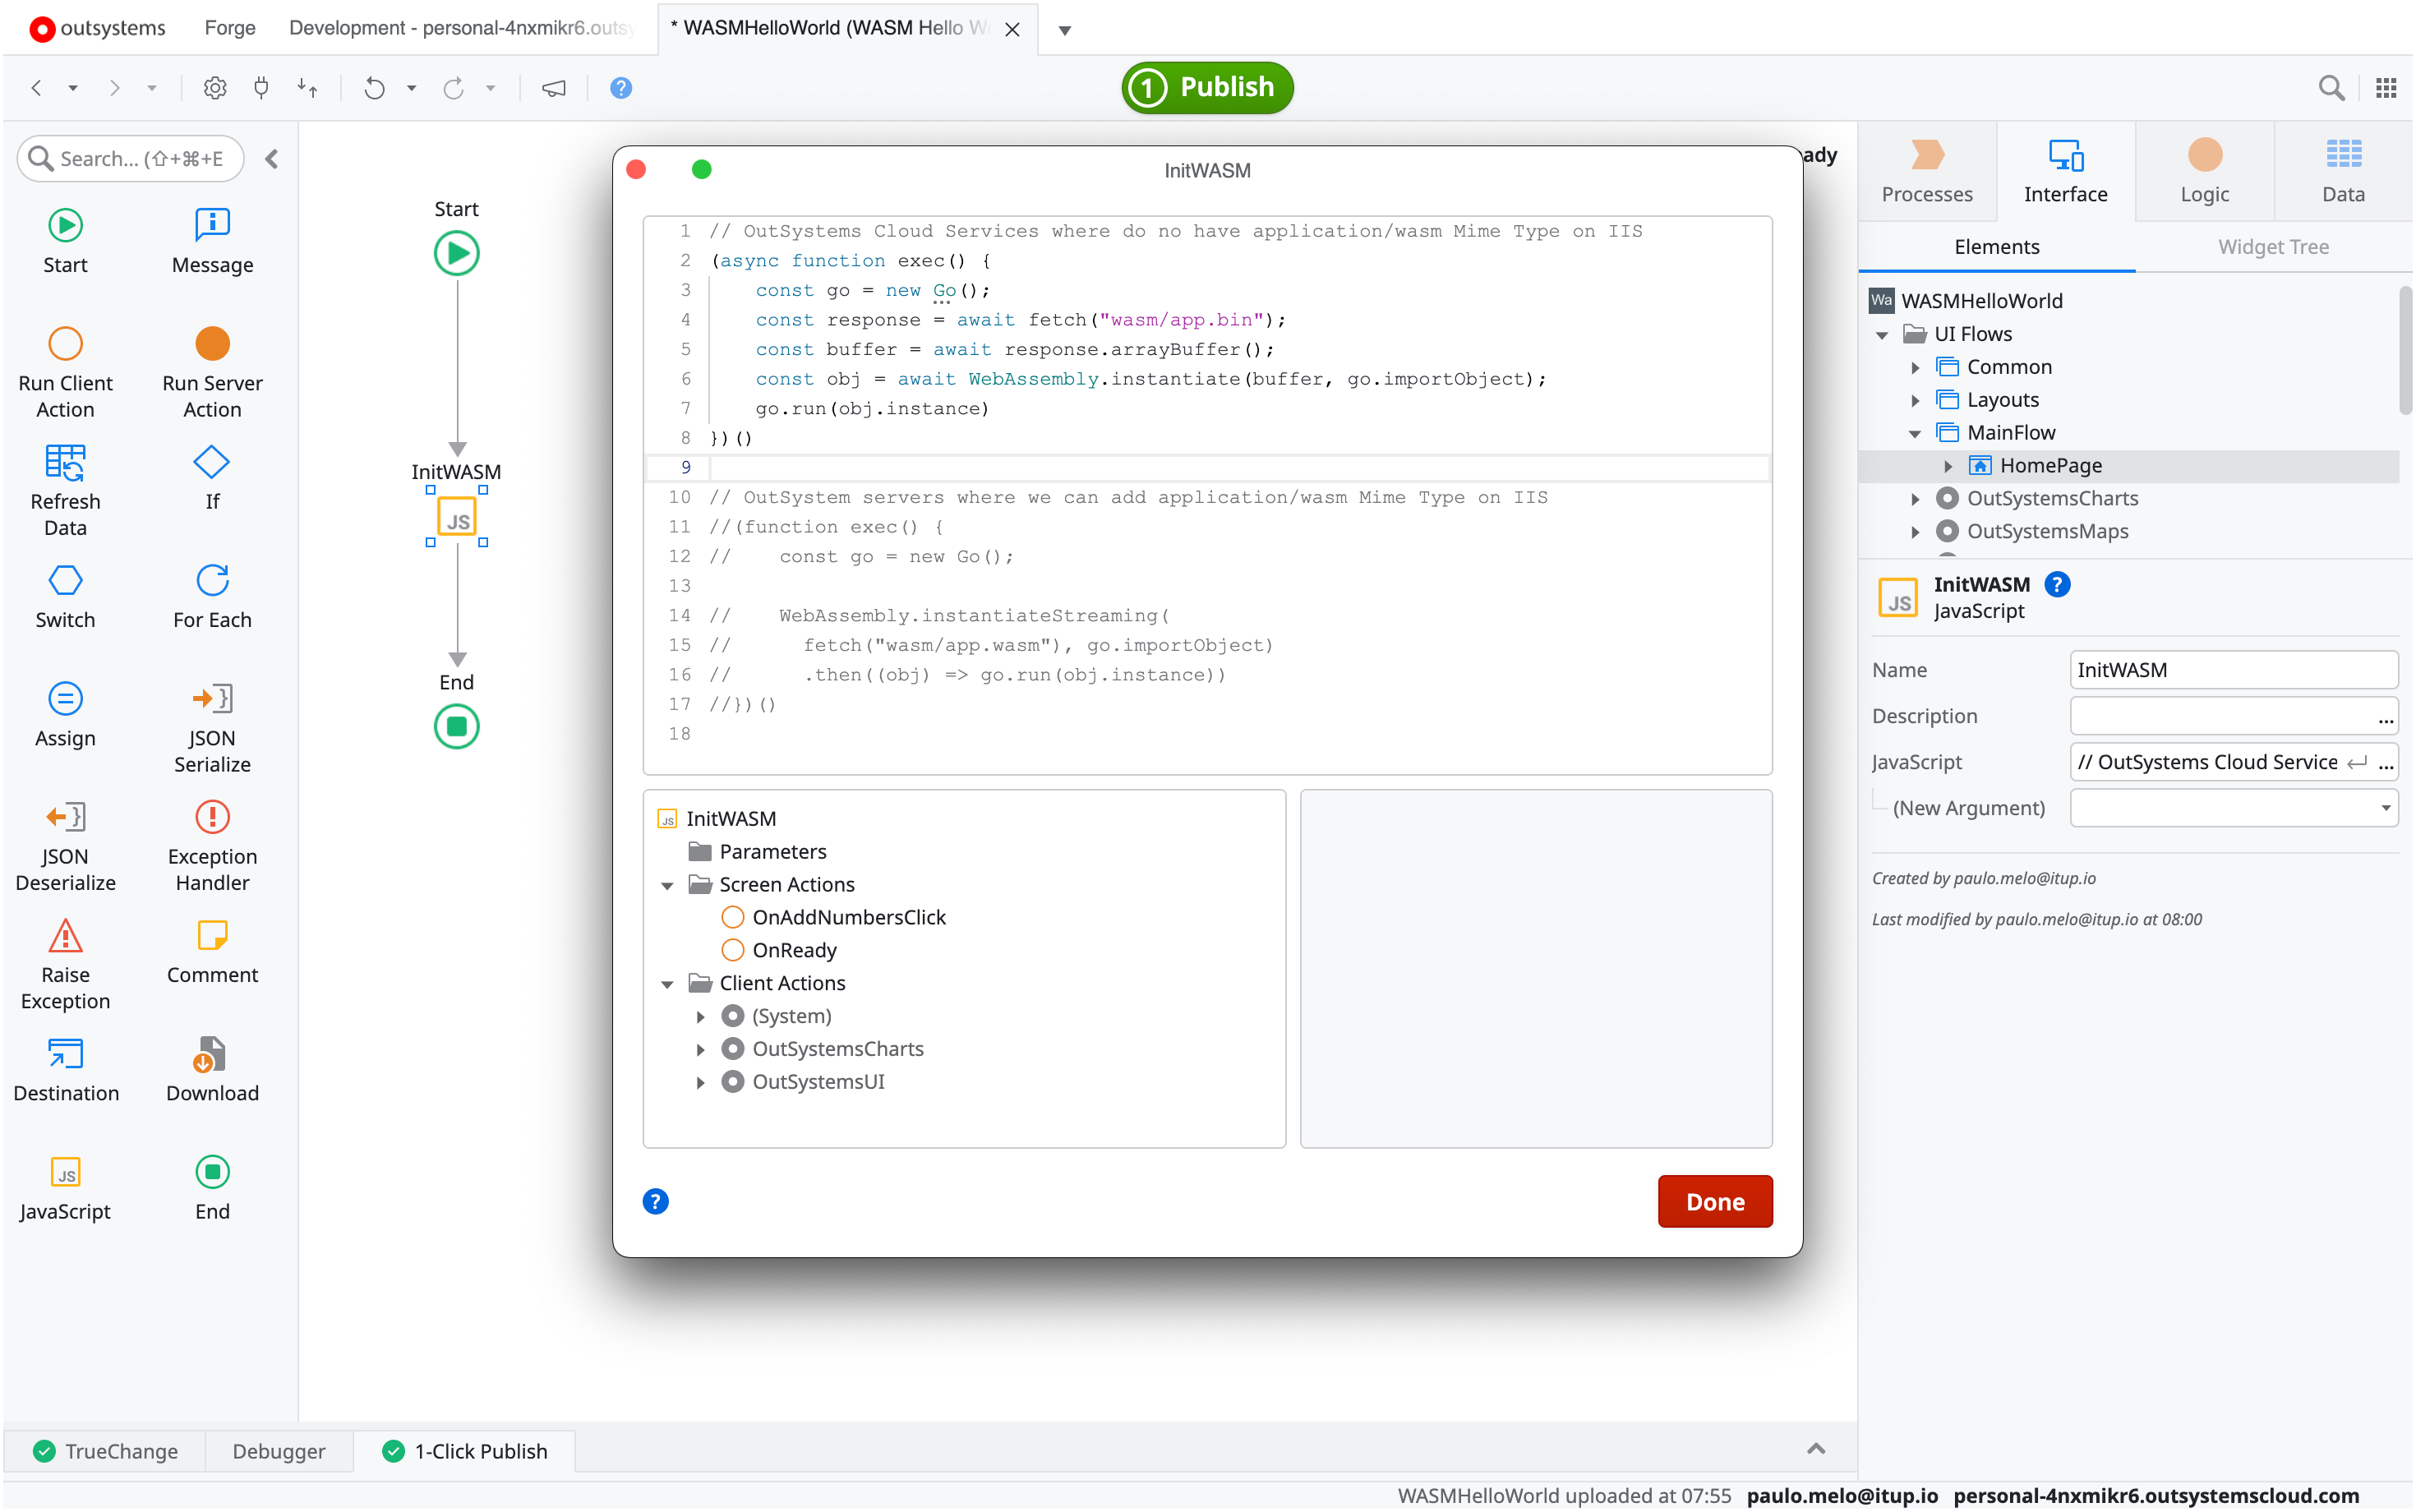
This javascript code will init the Go to JavaScript bridge and then loads the WASM file that we have compiled at the beginning of this article.
At the screen we add a Text widget to the Title and we name it T.

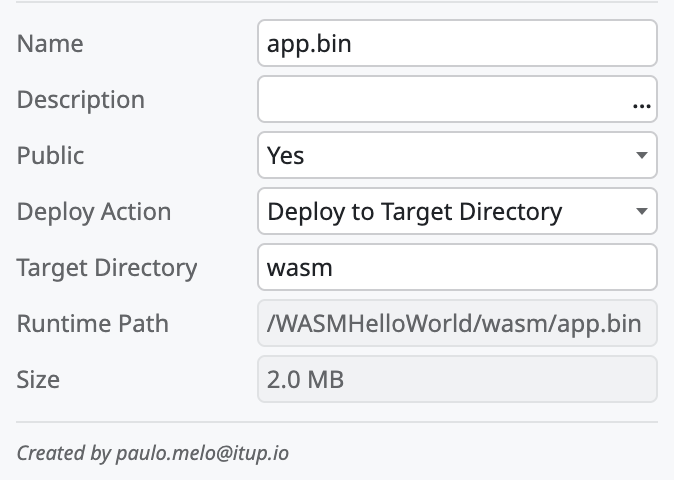
This will be the element that our WASM code will populate with the "Hello World from WASM! As a final step, we need to go to the Data Navigation Pane and upload the app.bin that we compiled earlier as a new resource. We need to change the Deploy Action to "Deploy to Target Directory" and set the Target Directory to "wasm".
It will look like this:
Finally just Publish and Open in the Browser.
Conclusion
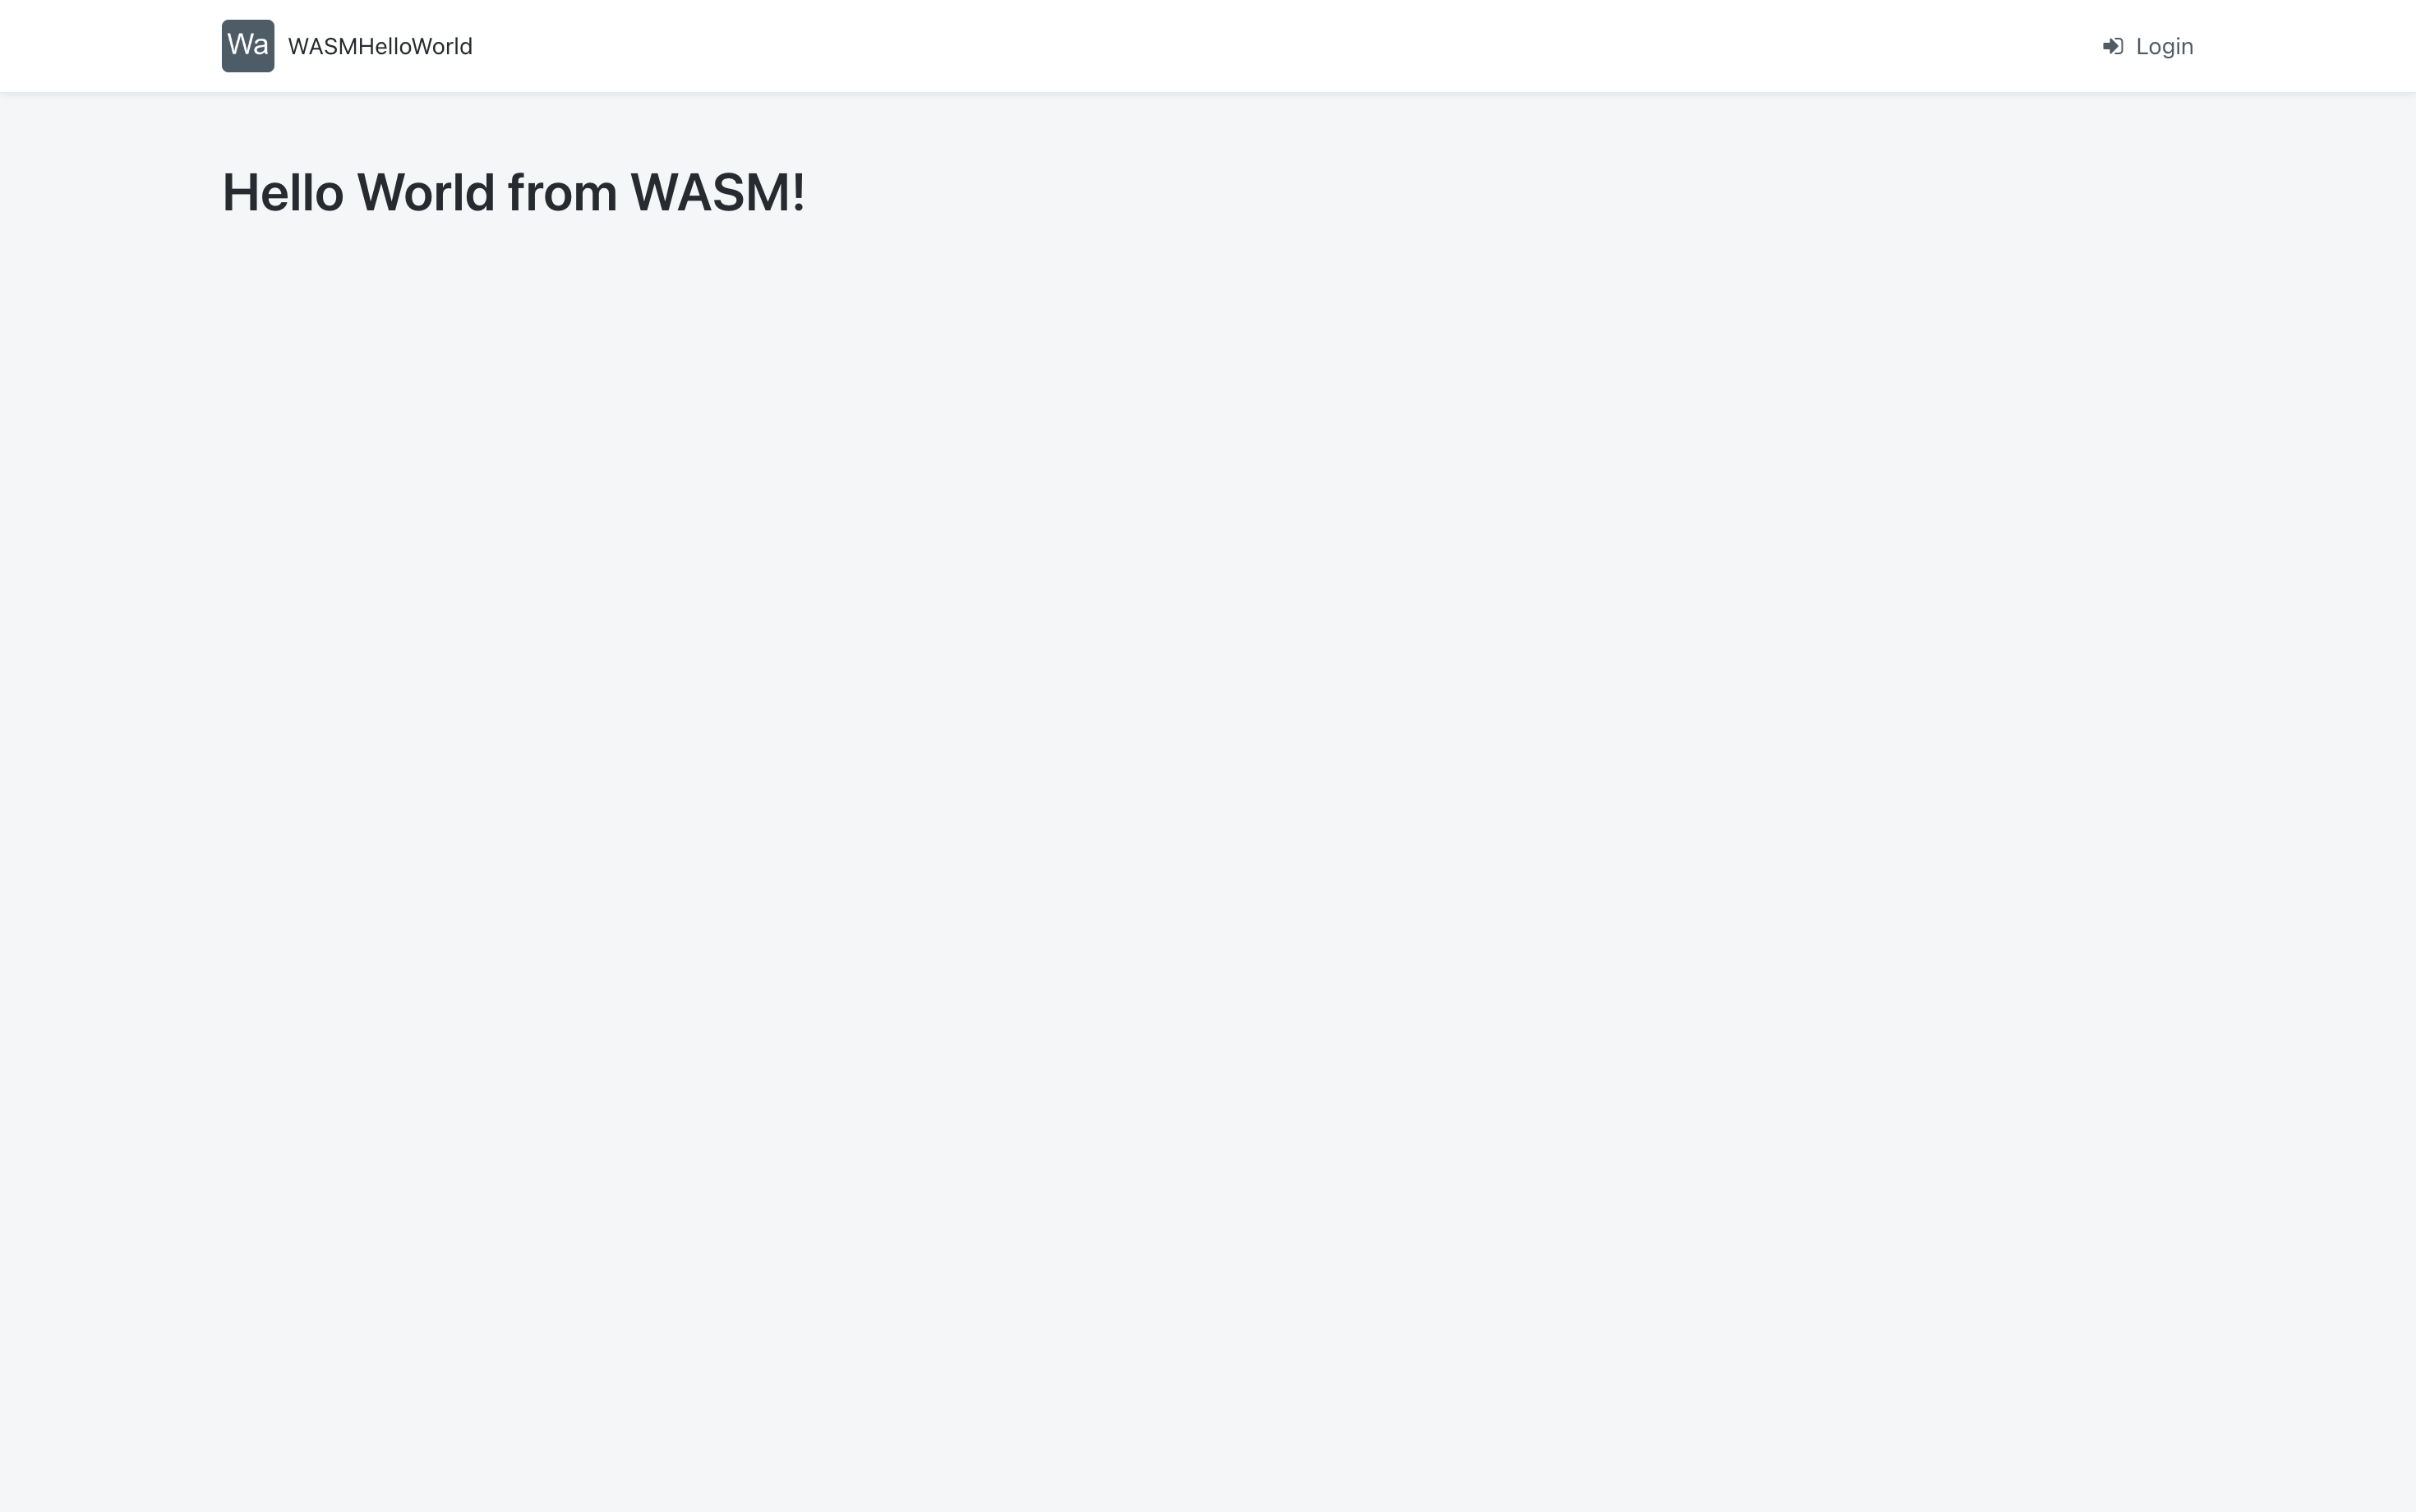
The WASM file was loaded and instantiated on the page at the OnReady event, at this stage the DOM is created and can be accessed. The WASM code used the JavaScript Go Bridge to read the created DOM, get the specific element to set the title and from inside the WASM code set the content of that element to the specific “Hello World from WASM!” text.
On Part 2 we will extend this WASM application to make a simple calculation of adding two integer numbers.
References
From OutSystems:
https://www.outsystems.com/blog/posts/how-to-build-an-app/
The Go Language:
WASM:


